

Call or Text with a Pro Today!
737-215-3211

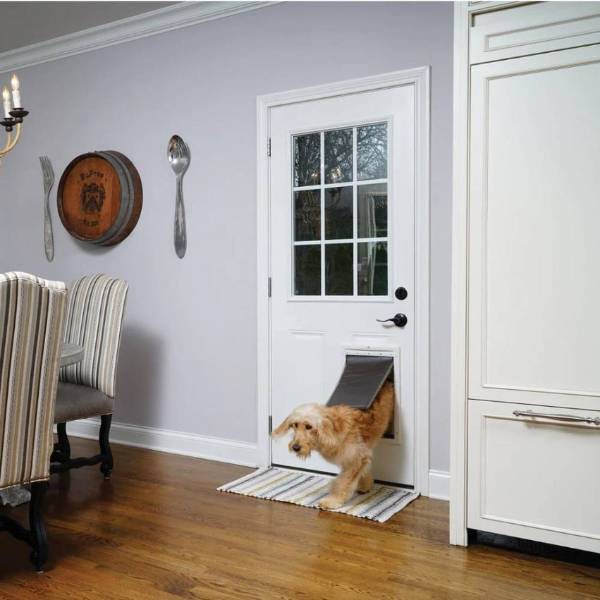
Installing a pet door offers many benefits.
Pet doors allow your furry friends to go outside and come back in whenever they want. It's helpful for letting them out to go to the bathroom or to play without you having to open your door. This means fewer interruptions for you and more freedom for your dog.
But how do you install dog doors?
Whether you're a skilled DIYer or just starting out, this guide will help you install a pet door without any problems.
First, increase the size of your pet. Measure their height and width at the widest point. Next, find a pet door slightly larger than this measurement. This allows your dog to pass through easily and more comfortably.
Next, the material of your home’s door. Dog doors can be installed in wood, metal, and even glass doors, but the layout and the type of dog door can vary depending on the material. Make sure the pet door you choose is compatible with your door’s material.
There are 3 styles of dog doors:
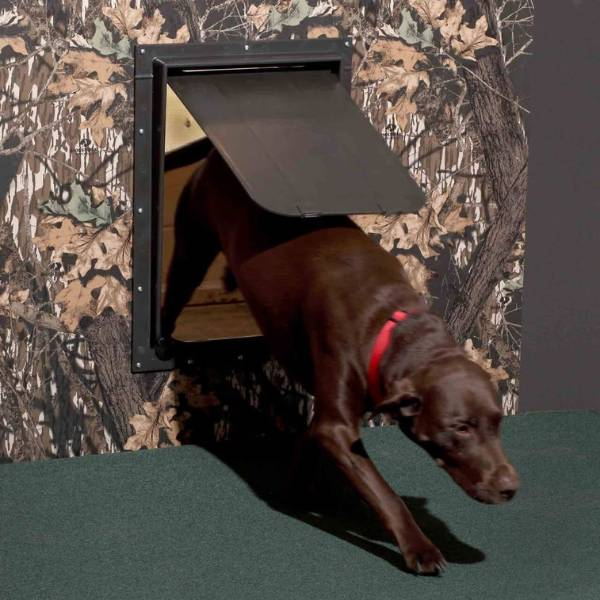
Flap doors, like Security Boss MaxSeal PRO Dual Flap, are the most common and are typically made from plastic or rubber. Your dog pushes through the flap to go in or out. They're inexpensive and easier to install. However, this type may not provide the best insulation against weather and can allow other small animals to enter.
Electronic doors, like PlexiDor Electronic Dog Door, operate with a sensor or a chip on your dog’s collar. These pet doors only open for your pet. They're more expensive but improve security and prevent other animals from entering your home.
Sliding insert doors, like PetSafe Sliding Glass Pet Door, are great for sliding patio doors. They fit into the track of the door and can be locked.
You'll need the following tools and materials:
Tape measure
Pencil
Jigsaw or reciprocating saw
Drill
Screws
Level
Caulk
Prepare these materials and tools before you start installing your pet door on your side, back, or front door.
Before installing a dog door, it’s crucial to prepare your existing door properly to maintain its look and strength. Follow these steps to ensure accurate placement and installation:
Choose the right spot: Ideally, the pet door should be placed in a lower corner away from the door’s hinges. This helps maintain the door’s structural integrity and make sure it isn’t too low or too high for your furry friend. A good rule is to set the bottom of the dog door approximately level with your dog’s stomach.
Measure your dog: Measure the height of your dog’s belly from the ground and the widest part of your dog to determine the size of the opening needed. Add about two inches to each measurement for comfortable clearance.
Mark the door: With a tape measure and pencil, mark the height of the pet door on your door based on your dog’s measurements. Use a level to keep the lines straight and even.
Check for obstructions: Before cutting, check both sides of the door for any potential obstructions (like internal door mechanisms or built-in wiring in a metal door).
Drill holes: At each corner of your marked outline, drill a hole big enough to fit the jigsaw blade.
Here are a few important reminders before you start cutting:
Handling different materials: When considering installing a pet door in exterior doors, it's crucial to comply with local building codes and insurance policies.
Wood doors: These are the easiest to cut through. A standard wood blade on your saw should work well.
Metal doors: You'll need a bi-metal or metal-cutting blade. Cutting metal can produce sparks and sharp edges, so wear heavy-duty gloves and eye protection. Go slowly to prevent the saw blade from overheating. For those with a storm door, installing a pet door is feasible, and you might even consider ordering a storm door with a doggie flap already in place.
Doors with windows: Be very careful to avoid cutting into the glass. If your chosen installation spot is close to a window, you might need to reconsider your desired location or consult a professional.
Once you’ve prepared and marked your door for the dog door installation, the next step is to cut the hole.
Set up your workspace: Remove the door from its hinges and place it on a secure, flat surface to make cutting easier and safer. If you can’t remove the door, make sure it is well-supported and won’t move during cutting.
Start cutting: Insert the blade of your jigsaw or reciprocating saw into one of the corner holes you drilled. Carefully cut and follow the outline you marked. Keep the saw steady and proceed at a moderate speed to maintain control. It’s important to cut just outside the line to allow a little extra room to fit the pet door frame snugly.
Smooth the edges: After cutting, the edges of the hole might be rough or sharp. Use a file or sandpaper to smooth these edges.
Check the fit: Before proceeding, place the pet door frame into the hole to check the fit
Cleanup: Clean up the workspace and the door to make sure no sharp debris is left behind that could harm you or your dog.
After cutting the hole in your custom door, the next step is to install the dog door frame. Here’s how to do it:
Test the fit: Place the pet door frame into the hole to make sure it fits properly. The frame should fit snugly without forcing it. If it's too tight, you may need to trim the edges of the hole slightly. If it's too loose, you can use shims (small pieces of wood or plastic) to fill the gaps.
Secure the frame: Remove the frame and apply a caulking bead around the hole's edge on both sides of the door. It acts as a sealant to prevent drafts and moisture from entering. Then, put the frame back into the hole and use the screws provided with the dog door kit to secure the frame to the door. Tighten the screws.
Check for gaps: Apply additional caulking around the frame, both inside and outside, to seal any spaces that might let air or water through.
Enhance security: Consider adding a sliding security panel that can be used to block the door at night or when you’re away from home.
Final inspection: Once the caulking has dried, open and close the dog door a few times to make sure it operates smoothly. Check the installation from both inside and outside.
The final steps involve adding some finishing touches to make sure your dog door is functional and secure. Here are a few tips:
Seal the edges: Make sure all edges around the dog door are sealed properly. Use weather stripping or additional caulking to close any small gaps that might let drafts into your home. This will help keep your house warm in the winter and cool in the summer.
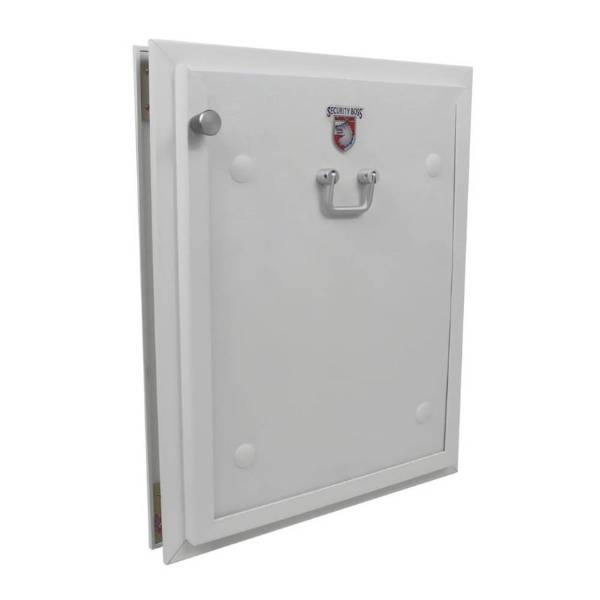
Add locks or covers: Consider installing a lock on the dog door. Some pet doors come with their own locking mechanisms or covers that you can slide or snap into place when the door is not in use. Covers, like Watchdog Security Pet Doors Cover, can also prevent other animals from entering your home.
Make it look good: You might want to paint or stain the frame to match. If you've worked with a material like wood, finishing it to match your door will make it look like a natural part of your home.
You’ve got all the steps to successfully install a dog door and give your pet newfound freedom. Don’t be afraid to tackle this project; with the right tools and a bit of patience, you can create a convenient entry for your furry friend. Remember, each DIY task you complete builds your skills and confidence.
Get inspired and keep improving your home and pet’s happiness with your own hands.
If you want more dog door tips and tricks, visit our blog.
Leave a comment